With an ever increasing proliferation of devices, operating systems, and browsers, testing has simultaneously become more complex.
With an ever increasing proliferation of devices, operating systems, and browsers, testing has simultaneously become more complex.
Anyone who regularly tests an application will eventually learn that they can’t run it on only one configuration if quality is a priority. This becomes increasingly evident when customers start to report bugs only found on their machines.
Generally, realizing the need for cross-browser testing before a buggy application is released to customers also means having the hindsight to test on various configurations. So when your analytics reveal that most customers are using certain versions of Google Chrome, Firefox, Safari, Internet Explorer, Microsoft Edge, Opera, and a few OS versions of iPhones and Androids, for example, you can get a clearer sense of what you should be testing on. However, testing on these browsers will also mean finding the right environment to test on, eg. if you’re working with Safari on a Mac, it’s going to be difficult to accurately test for Firefox on a PC or Chrome on an Android phone without buying additional hardware.
Since investing in a home-grown device lab is so expensive as well as hard to maintain for most organizations, many have chosen to use cloud testing tools like CrossBrowserTesting that allow teams to remotely test and debug across thousands of real desktop and mobile browsers.

Though getting started with CrossBrowserTesting is fairly straightforward, it’s always nice to have a little help at the outset. Here’s the ultimate beginner’s guide to CrossBrowserTesting.
Getting Started with CrossBrowserTesting
First, you’ll want to login or, if you don’t have an account, you can sign up for a free trial.
When you go the Test Center, there are three main methods of testing — Live testing, Screenshot testing, or Automated testing with Selenium. You can choose which you would like to do first by clicking “Run Live Test”, “Run Screenshot Test”, or “Run Automated Test”.
Live tests
Live testing is a tool for running remote manual and exploratory tests on different browsers in the cloud. To run a live test, you’ll want to enter the URL you’ll be testing in the box underneath “Start a Live Test”. Keep in mind you can test public or local websites with our tunnel.
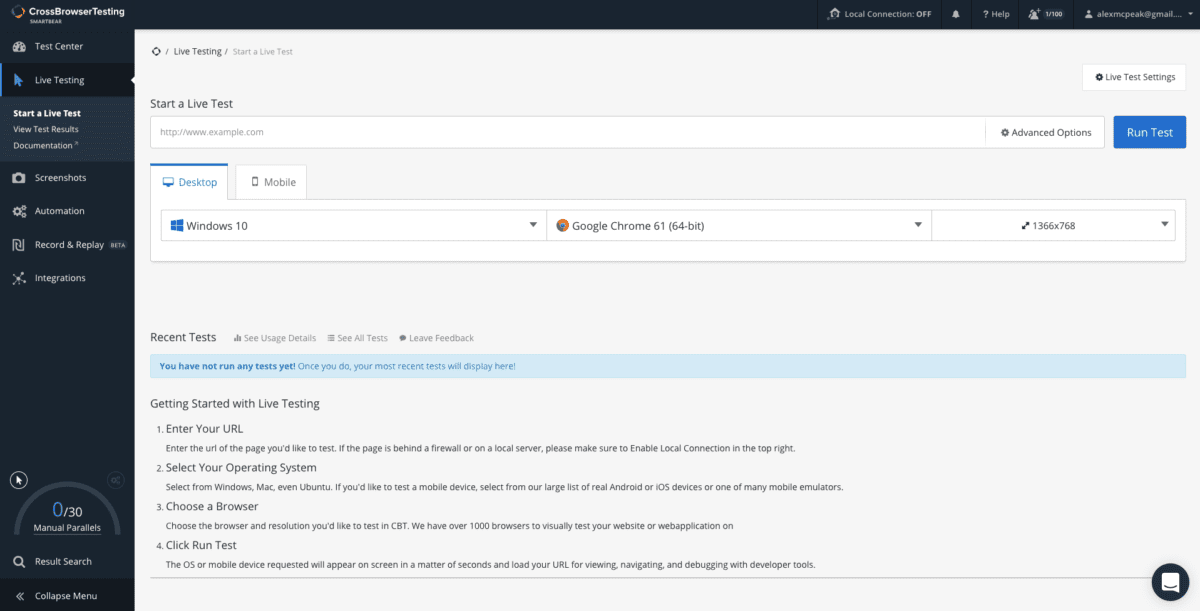
It’s pretty simple from here – all you do is select a desktop, operating system, and browser. You can also do the same with a wide selection of mobile devices and browsers. Click “Run Test” and you’ll be taken to the site on one of the real environments.
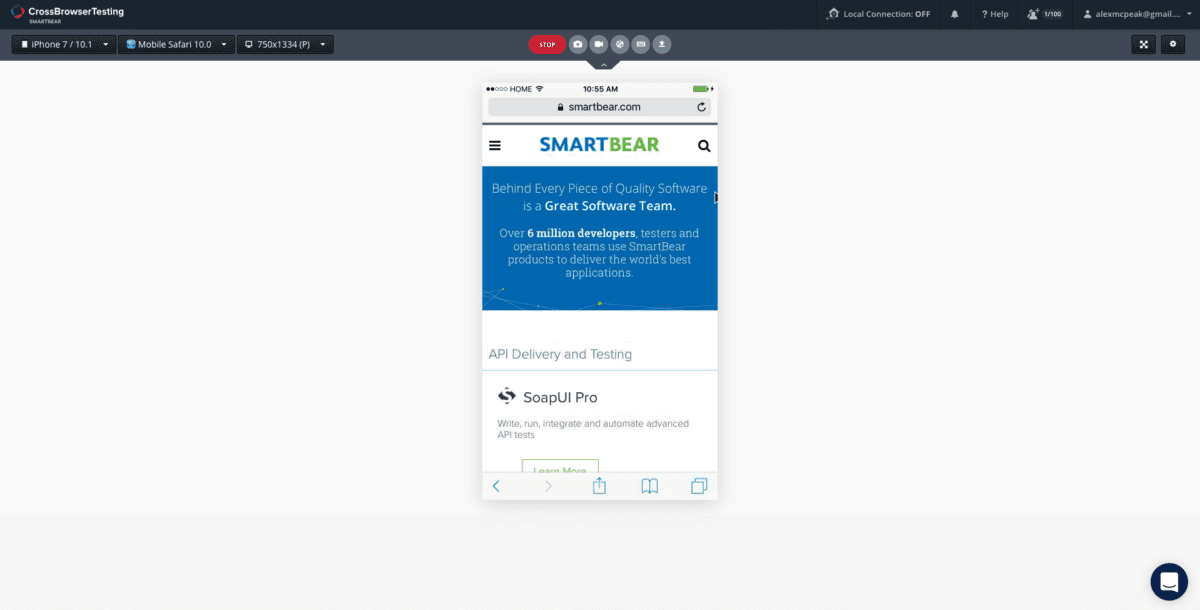
You can now interact with it just as you would your own browser and run integration and end-to-end tests by clicking different elements and fulfilling a full user journey. From inside the browser, you can also take a snapshot, record or stop the video, leave notes and tags, copy and paste, upload files, change browsers, and change resolutions. You can even use the developer tools for browser debugging or mobile debugging during the live session,then share the results with your teammates through Slack, Jira, Hipchat, or email just by sending the link.
Screenshot Test
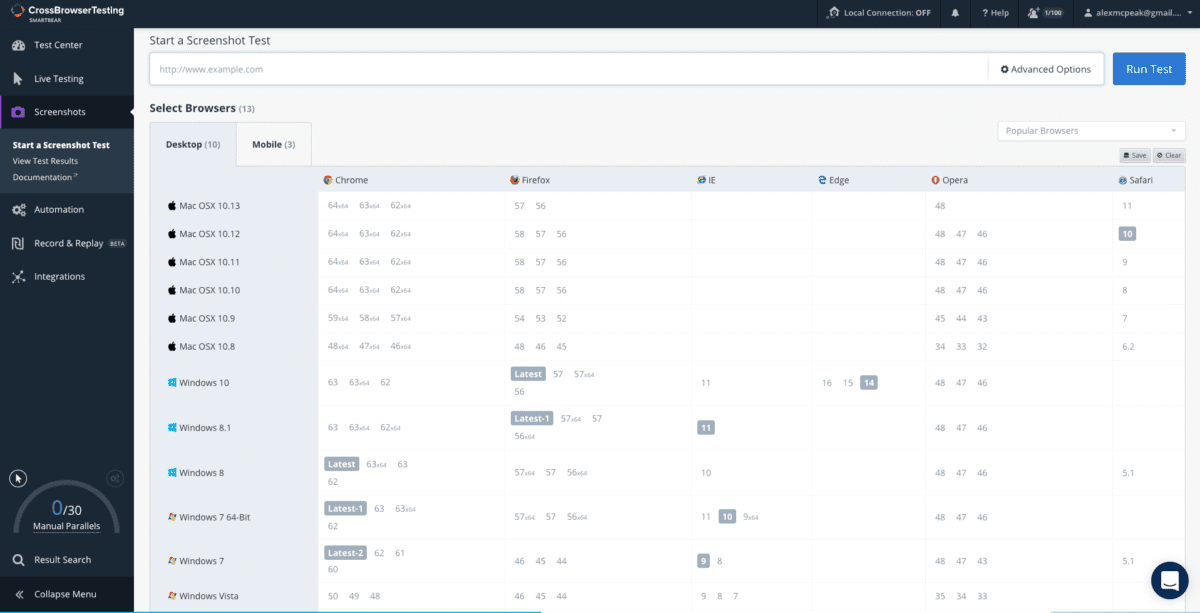
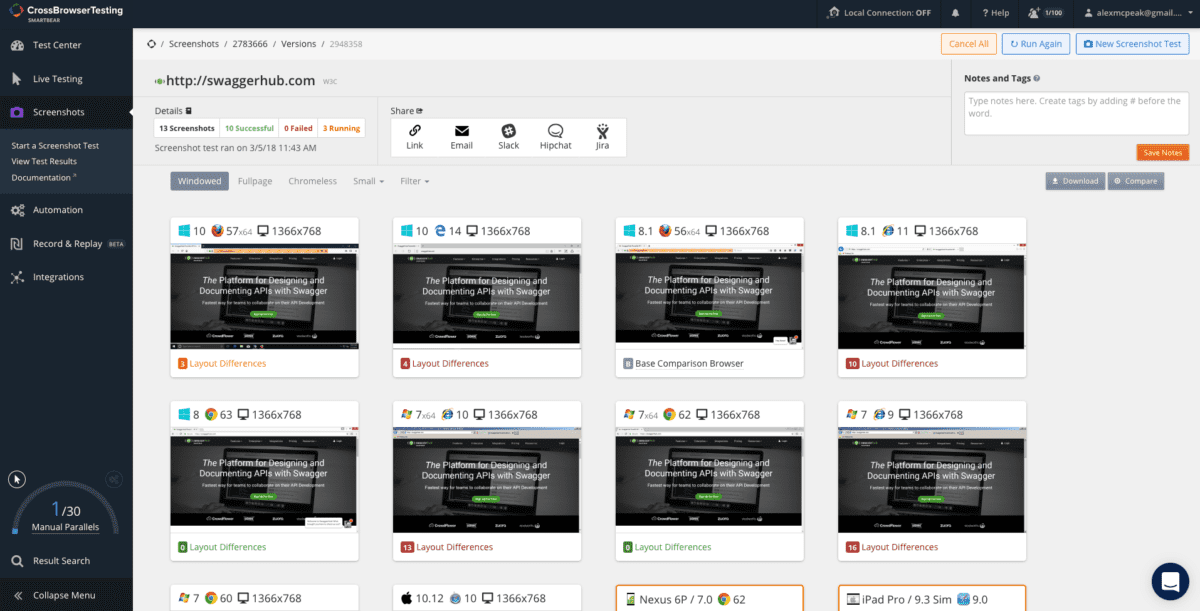
Running a screenshot test in CrossBrowserTesting is a similar process, but it allows you to test the UI of your page in multiple browsers and OSs at once. After entering your URL and choosing the browsers you want to test under the “Screenshots” section, click “Run Test” to launch the screenshots of your chosen configurations all at once. Just like live testing, you can take screenshots behind your firewall or login screen using the integrated tunnel technology.
There will be a status bar that lets you know whether your screenshots have passed, failed, or are still running. CrossBrowserTesting will then deliver screenshots from each of the configurations you entered, which you can view in, for instance, Windowed or Chromeless. The comparison engine will highlight any text, image, or layout differences from your baseline so you can decide whether discrepancies are acceptable or whether you need to debug.
Automated tests
Automated testing is a great way to speed up your functional testing and get a broader cross-browser coverage of your web application. However, it is a little more complicated because you will have to understand at least one coding language as well as basic Selenium commands to run automated or parallel tests.
To get started, you’ll first need to make sure you have Selenium installed. CrossBrowserTesting also has helpful documentation for Selenium testing to get you started in your language of choice.
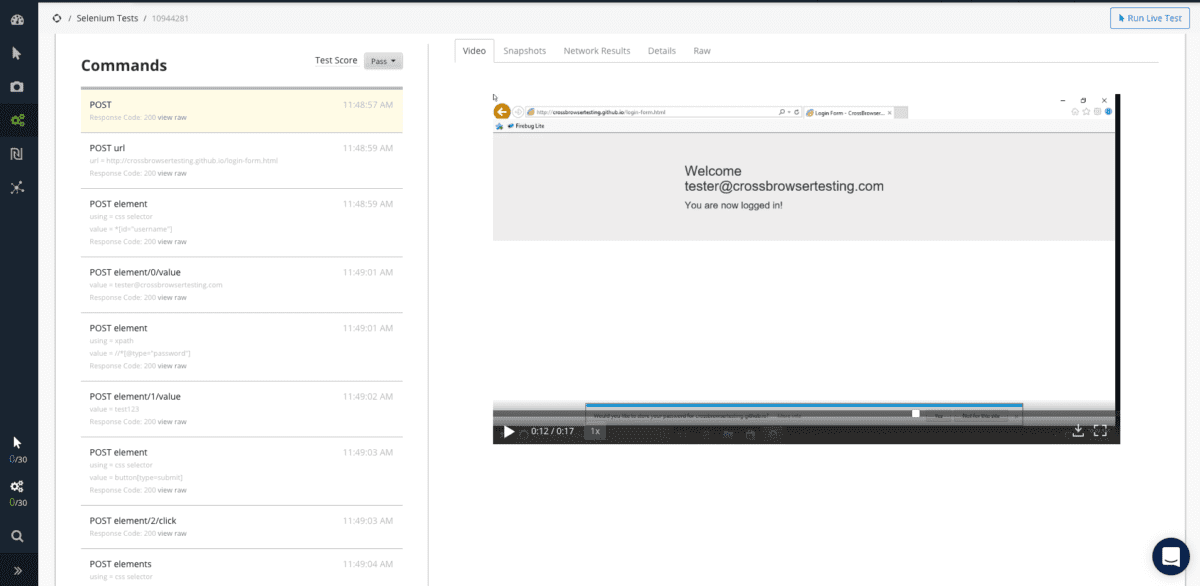
Once you’re well versed in creating your own Selenium scripts, all you have to do is choose the programming language you use, plug in your scripts, and choose the machines you’re testing on.
You will see the commands coming in on the left, and the test being executed on the right. After the test has run, there will be a recorded video you can play back and watch as well as snapshots for different steps in the test.
CrossBrowserTesting also has the ability to run tests in parallel, allowing you to run automated functional tests on multiple machines at once. The amount of parallel testing allowed is based on pricing plans but can go up to 20 tests at one.
Finally
So there you have it – maybe cross-browser testing isn’t so bad after all! Well, it probably is if you have to download a bunch of browsers on your machine and run through the same tests over and over again by hand, but using cross-browser testing makes life a lot easier.